Get ready for spring with DIY seed starter pots
You’ve been perusing your seed catalogues. You’ve been dreaming of warmer weather. The first day of spring is just around the corner. That’s right: it’s time to start garden planning, and soon, time to start your seeds. But why buy plastic seed starting trays? If you’re looking to stop buying plastic (did you take our plastic reduction pledge?), and have concerns about the environmental sustainability of peat harvesting, we have 9 ideas for you using materials you already own to start your seeds for this year’s outdoor or windowsill garden. Many of them are even biodegradable, meaning you can plop them right in the ground (or a larger pot) when the time comes (after acclimating them to outside conditions if they’re going outside).
And if you’re a beginner, before you start your pots you can read this step-by-step guide to soaking and planting your seeds. Also check out our gardening page for a thorough list of gardening resources, including websites, books and seed catalogues.
Our resident DIY and design expert Samarra Khaja takes us through the DIY seed starter pot options.

Toilet paper roll and other paper-based DIY seed starter pots
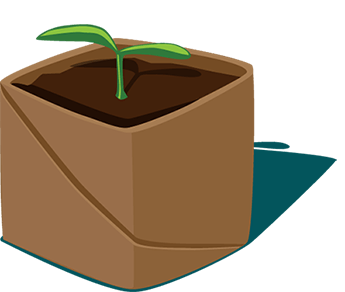
My first and favorite option are toilet paper roll pots because, if your household is anything like mine, you won’t need to wait too long to acquire them. Plus, they’re just so darn cute and compact when constructed. Follow these instructions to fold your roll, cut it in half and snip in a folded, flapped base and you’ll have two adorable seed pots in no time! This is an easy family-friendly project to involve the whole brood — or a classroom full of kids.

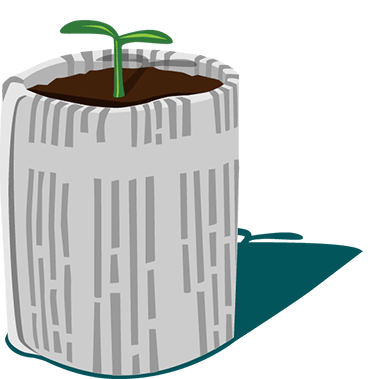
There are plenty of tutorials around to make paper seed pots out of lots of good source materials, including sheets of newspaper and even your shredded paper bank statements. That last option is much more labor-intensive than the toilet paper roll option, since it involves creating paper pulp but hey, you might like that extra toil-for-soil experience
Alternatively, you can go the cardboard egg carton route, which is also a well-proven method. It might be a good idea with these and some others to poke some holes in the bottom to help the plant expand its root system once you transplant it.
Paper-based pots that will require transplanting
You can use discarded paper drinking cups, but note that they’re lined with plastic so they’re only good until transplant time, at which point you can slice them open with an exacto knife and shake the small plants gently into your hand.
Another non-biodegradable option I’m considering: since my kids’ Lego advent calendar trays recently changed from plastic to paper, I’ve started reusing them as craft supply drawer organizers, but you could also section them off into seed starter pots (after all of the toys have been removed, they’re essentially a tray with small, rectangular compartments).

Egg shell pots and other food-based DIY seed starter pot
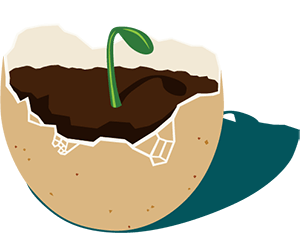
Next up is one of nature’s finest packaging materials: egg shells! These DIY seed starter pots created by using half of a discarded egg shell have built-in benefits but their most appealing feature is that they are very, very cute. Egg shells can be a particularly nutritious container while acting as protective fencing around your seedling bebes. Before transplanting them into a bigger pot or the ground, you’ll need to poke some holes in the bottom, though, since an eggshell can’t decompose fast enough to get out of the way of your growing roots. If you want to go further into the nature-made arena, you’ll also find fun hacks like avocado skin halves) and this citrus peel pot (I’d definitely poke holes or cuts slits in either of those options to speed up biodegradation, giving a rind a reason as it composts its way back to mama earth.
Regardless of which kind you go with, the bonus for using any of the biodegradable pots is that they’re friendly to a wide variety of seeds and especially kind to early seedlings that don’t otherwise like being transplanted (e.g., various kinds of squash, corn and beans). This way you won’t have to disturb them before transplanting them into a larger pot — to become hardy before moving outdoors or to stay there on a windowsill — or moving them directly outdoors. We recommend checking trusted garden sources for advice on which starts can move directly outdoors and which should spend more time getting strong first.
Once you’ve assembled all your pots to be filled and you’re still up for a non-store-bought option, you can unlock a new level of DIY wizardry with this homemade germinating mix and learn some great soil mix and insider tips along the way.
Happy Planting!
More Reading
Uprooting plastic: Why and how to reduce plastic in the garden
June 4, 2025
Edible landscaping is beautiful and delicious
April 18, 2025
5 easy-to-grow vegetables and herbs for beginner gardeners
April 11, 2025
Six unusual greens to try
September 4, 2024
5 ways climate change could impact your home garden
March 14, 2024
Seed saving as a living legacy
November 7, 2023
How to Prevent Garden Food Waste
July 11, 2023
“Under the Henfluence” Urges Us to See Hens as Complex Beings
May 10, 2023
Which Gardening Method is Right for Your Home Garden?
March 17, 2023
Things to Keep in Mind If You Want to Get Backyard Hens for Eggs
November 18, 2022
