


Extend the life of your garden by learning how to save seeds
Save seeds from your garden and grow more next season. We cover the basics including what to save, when to harvest and how to store your seeds.
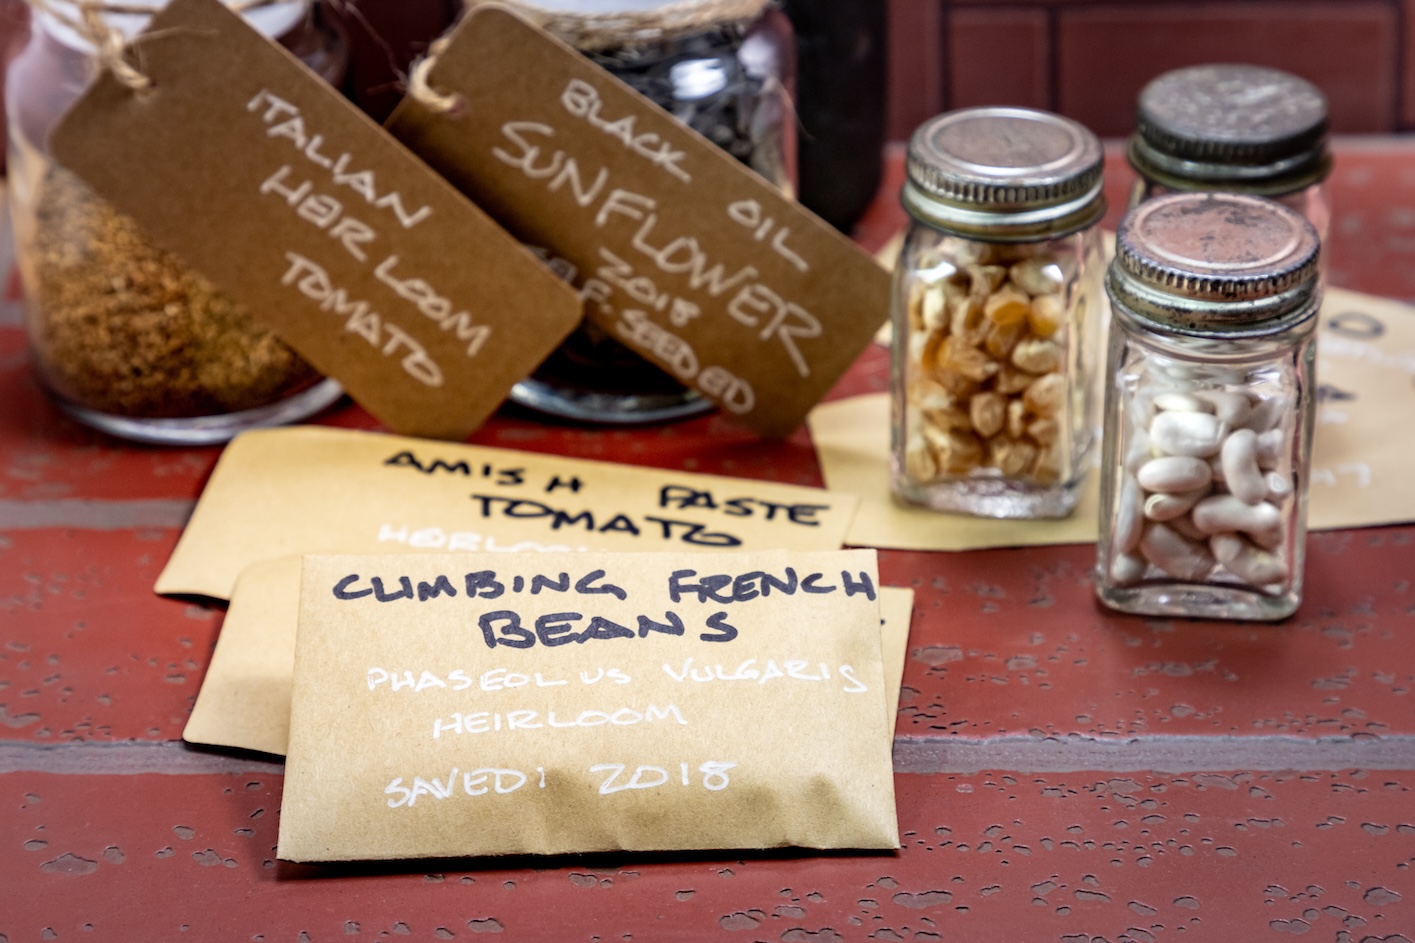
It may not come as a surprise that interest in home gardening has continued to rise in recent years. Whether it’s wanting to know exactly where your food comes from, an effort to become more self-sufficient in uncertain times or simply as a way to go analog and get off your phone, there’s no wrong reason to grow your own food. But maybe you’ve already taken on the task of starting a home garden and wonder if there is a way to make your garden work a little harder for you. That’s where seed saving comes in.
Seed saving is the millennia-old practice of harvesting, drying and storing seeds so they can be planted in the future. Generations have saved seeds out of necessity but also in an attempt to safeguard biodiversity and preserve cultural connections. In your home garden, seed saving allows you to save money, preserve well-performing seed varieties, become more self-reliant in your garden and waste even less of your harvest.


Seed saving may sound like a complicated process but actually, it’s something that most gardeners can start doing right away, no expert skills or special tools required. Even better, there are many common fruits and vegetables, including beans, peas, tomatoes and lettuce, that are very straightforward to save once you understand the basics.
Get to know your seeds
Before you begin to save seeds, you’ll want to familiarize yourself with how they’re classified.
The easiest and most successful types of seeds to save are open-pollinated seeds. The plants grown from these seeds can be pollinated by wind, insects, birds and even human hand-pollination. They are also “true to type,” meaning they produce plants with similar traits and characteristics year after year.
Heirloom seeds are a type of open-pollinated seed that has been passed down for generations. Since these seeds are open-pollinated, the plants grown from them retain similar traits generation after generation.
Hybrid seeds (also labeled “F1 seeds”) are created by purposely cross-pollinating two varieties of the same plant species in order to produce specific plant characteristics and traits. Hybrid seeds are not recommended for saving as they do not produce “true to type” and traits can vary with each season.
It’s also important to know whether your seeds are self-pollinated or cross-pollinated. As the names imply, self-pollinated plants are able to fertilize themselves, either within the same plant or the same flower, without the help of outside forces such as wind or insects. By contrast, cross-pollinated plants must receive pollen from a separate plant in order to create seeds and fruit. While it is possible to save seeds from cross-pollinated plants, there’s no guarantee that the plants will have the same traits the following year since they may have been pollinated by a different variety. Self-pollinated plants are preferable for beginner seed savers because they’re more predictable.
The best vegetable and fruit seeds to save for beginners
Peas
Shelling, snap, snow — no matter which type of peas you grow, they’re some of the easiest seeds to save from your garden because the peas themselves are the seeds!
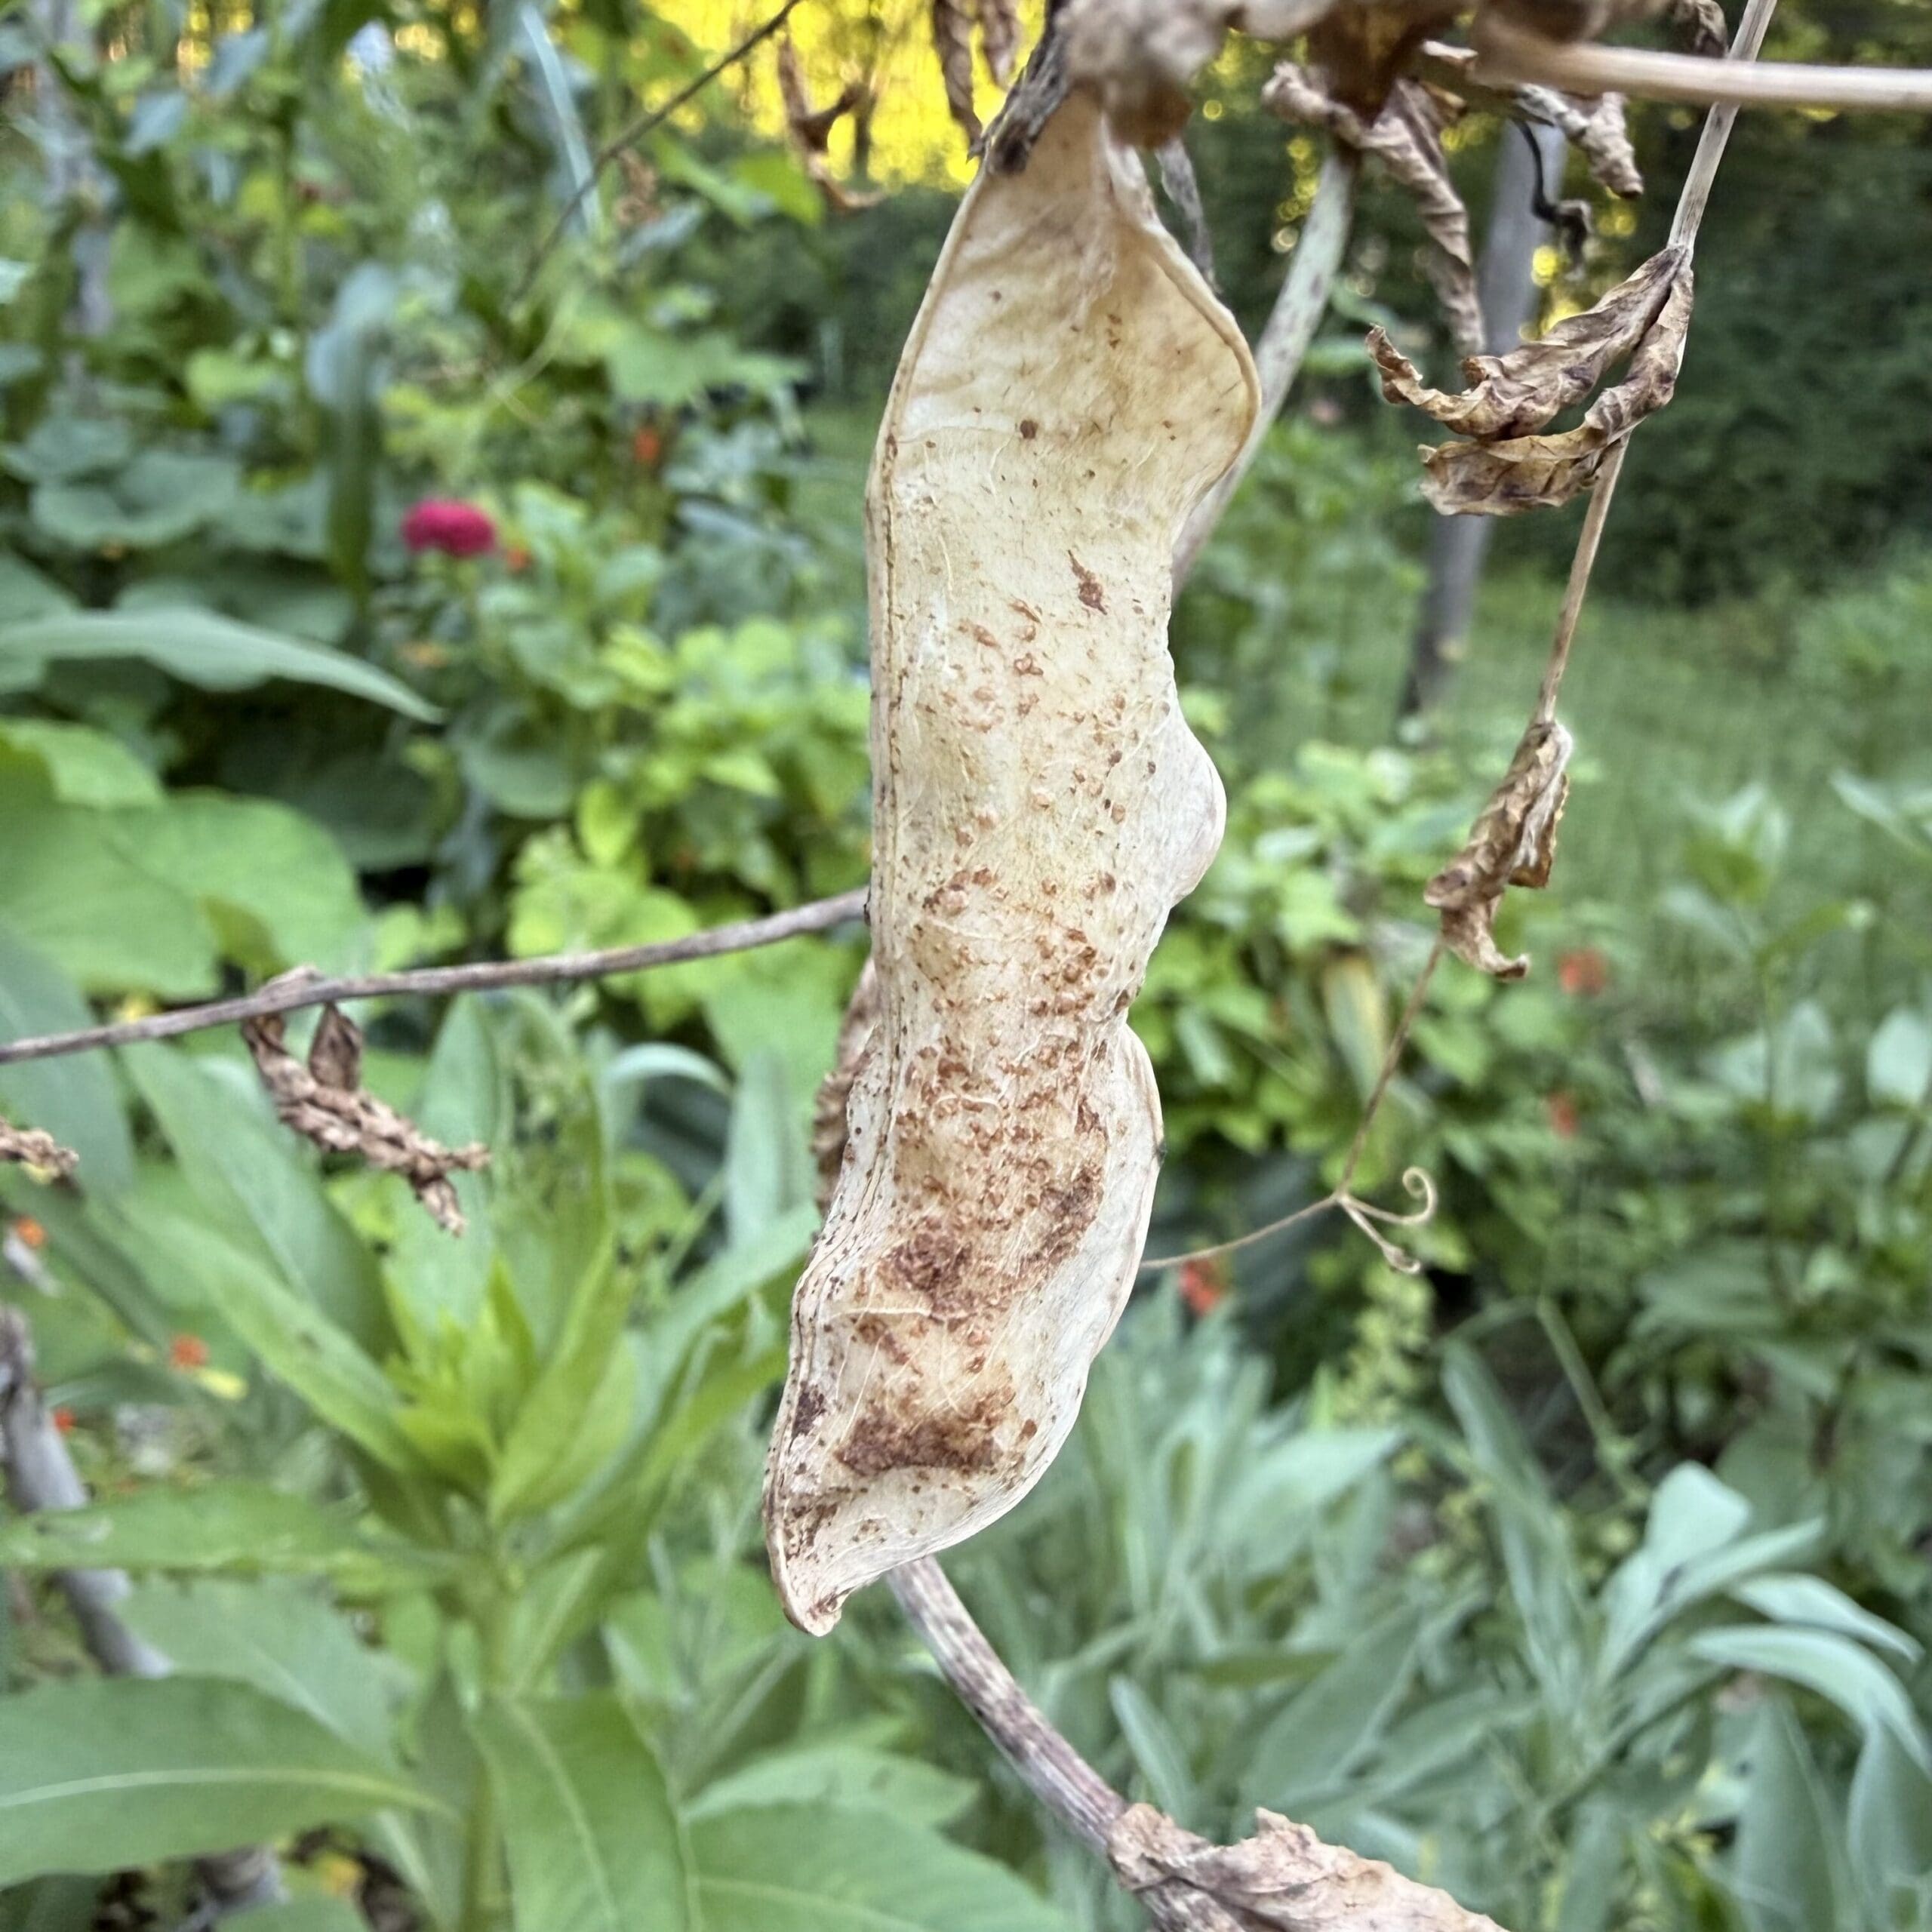
While peas and their pods can be harvested for eating at any point in the season, the best time to save pea seeds is at the end of the growing season, when the vines and remaining pods are brown and dry. Once this time comes, give the pods a quick shake to ensure the peas inside are fully dried — you should hear a rattle! Then, break open each pod and save the seeds.
An added tip: Once you’ve harvested the pods and are ready to clean up the garden bed, simply cut the vine at the soil line instead of pulling up the entire plant and roots. This will allow the roots, which carry beneficial nitrogen, to decompose in the soil and enrich it.
Beans
Was this the year you discovered how easy it is to grow beans at home? Or maybe you have finally found the perfect bean variety and now you want to grow it year after year. Either way, you’re in luck! Similar to peas, beans are among the easiest seeds to save from your garden.
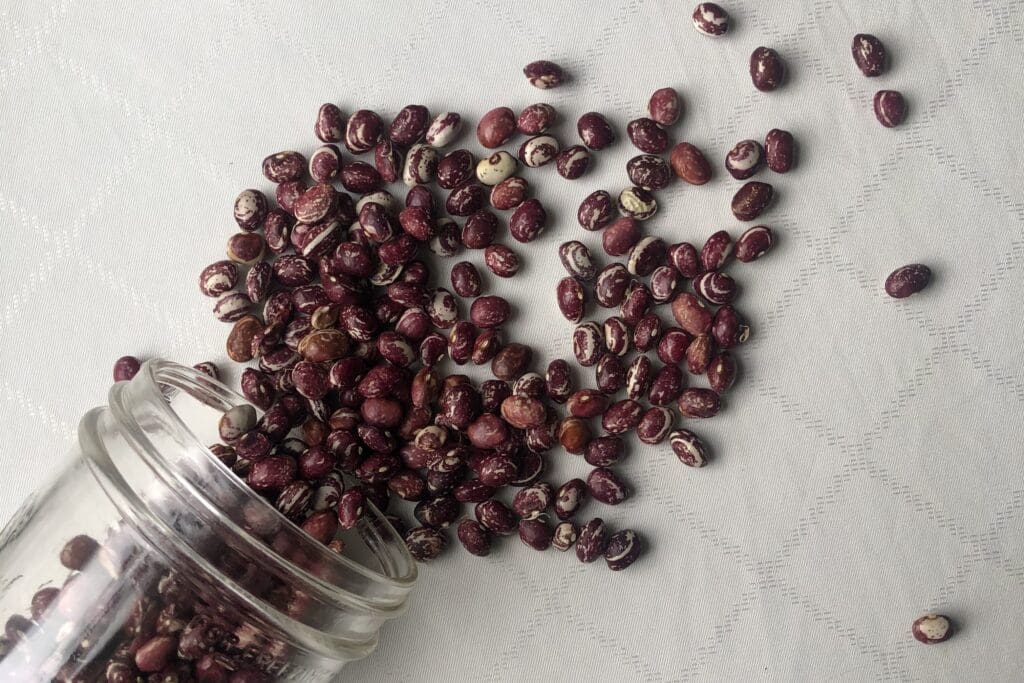
Many of the same tips for pea seed-saving apply to beans: Let the pods stay on a vine until the end of the harvest and they are brown, brittle and you can hear the bean seeds rattling (loudly!) inside. To be extra sure that the bean seeds are dry enough to be saved, try denting one with your thumbnail. If it leaves a mark, the seed needs more time to dry. If it can’t be dented, it’s time to store it (more on this below).
Lettuces
Home from vacation to find your lettuce plants have bolted in protest of the heat? Don’t fret! While bolted lettuce may be too bitter to make a delicious salad, it is one step closer to producing harvestable seeds.
As the end of the growing season approaches, or once your lettuce gets too much heat or sun, the plant will begin to bolt. Essentially, this is its stress response: It signals to the plant to shift from producing leaves to focusing on reproduction by setting seeds before it dies. First the plant will send up that long vertical stalk in the middle. Then it will produce small, bright yellow flowers. Once the flowers dry, the plant will produce tufts of white fluff similar to a dandelion. This is your cue to harvest the lettuce seeds, which are tucked within the white fluff.
To easily separate the seeds from the fluff, you can either crush the fluff over a container by hand, or snip the seed heads into a bag and give them a good shake to release the lettuce seeds. Let the seeds dry for a few days before packaging and storing.
Peppers
While green peppers are completely fine to pick and eat fresh from the garden, you’ll want to wait to harvest the seeds from very mature fruit that have ripened fully on the vine, reaching their final color of red, yellow or orange. Cut into the ripe fruit and remove the seeds. Spread them on parchment paper or a paper towel and allow to air-dry for three to five days before storing. To check if the seeds are dry enough, try breaking one in half or cutting it with a knife. If the seed cracks evenly in half, it’s ready to store. If the seed bends or gets squashed, it needs more time to dry.
A word of caution: Even though peppers are self-pollinated, sometimes they can cross-pollinate in the garden if you plant more than one variety. If this happens, your saved seeds may not grow true to type and could present some surprises for you the following year. To avoid this, plant different pepper varieties at least 300 feet apart.
Tomatoes
Of all the garden-variety fruits and vegetables, tomatoes require the most work as far as seed saving goes. Still, the process is very simple and can yield great results.
Tomatoes are known as “wet seeds” because you harvest the seeds while the fruit is still ripe (unlike beans and peas, which you harvest when the seed pods are dry). Tomato seeds are surrounded by a gel-like membrane that contains anti-germination compounds. If the membrane is not removed, your saved tomato seeds will have just about a 30-percent chance of germinating (and growing) properly once planted.
The best way to remove this membrane is through a short fermentation process. Start by removing the seeds from one of your ripe tomato fruits. Ideally, the tomato should be picked from a disease- and pest-free plant. Place the seeds (pulp is okay, too) into a glass jar and add an equivalent amount of water. Cover the jar with a cloth napkin secured with a rubber band to keep out pests, and leave on the counter for three to five days, stirring about every 12 hours. You may notice a white or frothy film develops on top or that the jar has a yeasty smell. Don’t panic — that just means the fermentation process has begun. You’ll know the process is complete when the seeds sink to the bottom of the jar, leaving the water and pulp at the top. You may see a little mold on top as well; that is okay, but discard the mixture if any of the seeds are sprouting (it means your seeds will mold or rot once you store them). Pour out the water and pulp through a sieve and rinse the remaining seeds until fully cleaned and the water runs clear. Spread the seeds in a single layer on a piece of paper, sheet of parchment paper or a kitchen towel and dry for at least one week, away from direct sunlight. To test if the seeds are ready to store, try breaking them. If they crack, snap or break, they are dry and ready; if they bend, they need more time.
A final note: Although tomato plants are self-pollinating, much like pepper plants, they can cross-pollinate. If you are growing more than one variety of tomatoes and plan to save seeds, it’s best to plant them at least 10 feet apart to prevent this.
How to store saved seeds
After putting in the work to save your seeds (not to mention waiting for them all season!), don’t waste your efforts by storing them improperly. Only store seeds once they are clear of plant debris and completely dry. You may choose to save them in small paper envelopes (try reusing old seed envelopes) or in glass jars. Steer clear of plastic bags or containers, which can trap moisture and cause seeds to mold or rot. No matter the container you use, it should be clearly labeled with the seed variety and harvest date. It’s also helpful to add any particular traits of that variety such as color, size or water and sunlight preferences.
Once the seeds are in their containers, be sure to store them in a cool, dark, dry location — just as you would seeds from the store. If you are planning to keep for longer than a year, opt for airtight containers such as glass jars to keep out moisture and bugs or other pests.
Related Posts
 Growing Your Own Food
Why beans belong in your garden (and how to get started)
April 14, 2026
Grow beans for an easy way to boost soil health and grow your own food. Learn simple ways to get started, from planting to harvest.
 Growing Your Own Food
When seeds online look too good to be true — because they are
March 23, 2026
Not all seeds sold online are what they seem. We explore the rise of misleading seed listings and share tips for finding reliable, high-quality seeds for your garden.
 Growing Your Own Food
Uprooting plastic: Why and how to reduce plastic in the garden
June 4, 2025
As the owner of Urban Gardening Canada, Bri Petersen shares sustainable gardening advice through workshops and social media. She tries her best to avoid any plastic use in the garden. “I’ll make a cold frame over a poly hoop house, if I can,” she says. Typically cold frames are wooden boxes with a glass top, while poly hoop houses use plastic sheeting stretched over hoops. Both protect plants from the cold; the main difference is in materials — glass versus plastic. For Petersen, opting to eliminate as much plastic as possible from the garden is not a revolutionary concept. “It’s how people used to garden a hundred years ago,” she says. But while Petersen’s effort to avoid plastic is applaudable, it’s not always easy. In 2023, the global home plastic flower pots and planters market was valued at $0.34 billion. It is expected to grow to $0.57 billion by 2032.