Why beans belong in your garden (and how to get started)
Grow beans for an easy way to boost soil health and grow your own food. Learn simple ways to get started, from planting to harvest.
If you haven’t already heard, beans are having a moment and for good reason. Maybe you’ve experimented with new ways to cook them or discovered how many ways there are to use up a can. But there’s another place they really stand out: in your garden.
Beans really can do a lot. They’re rich in fiber, packed with plant protein and just like they are good for us, they are good for the soil in your garden as well. Beans are a nitrogen fixer, meaning they work with beneficial soil bacteria known as Rhizobium to pull nitrogen from the air and convert it into ammonia, a form of nitrogen that plants can use more readily and that also enhances the soil. This helps reduce the need for synthetic fertilizers.
On top of all that, beans are incredibly easy to grow and, if you choose a variety that can be dried and stored, they can provide homegrown food long after the season ends. Whether you are a seasoned bean gardener or just getting started, here are some tips to ensure success.
Start growing beans in 5 simple steps
1. Find the right bean variety
One of the best things about growing beans yourself is the variety of types to choose from. Whether you’re planting them in a smaller space or a large garden, or planning to enjoy them fresh or dried, there’s a bean for you.
To source the best bean seeds, be sure to buy them from a reputable, sustainable seed company such as Seed Savers Exchange, which offers many heirloom bean varieties. You can also often find bean seeds at your local seed swaps or seed libraries.
Usage: snap, shell or dry beans
When you think of beans, a few different types may come to mind. Perhaps it’s the early season, bright green snap bean (aka green bean or string bean), or a farmers’ market stand full of shell beans like borlotti, or maybe it’s your favorite type of dried beans to keep in the pantry, such as black beans, kidney beans or navy beans. While all of these bean examples are enjoyed at different stages of freshness, they are all species of the common bean (Phaseolus vulgaris), which includes snap, shell and dry beans. Some varieties can even be enjoyed during all three stages!
Growing habit: bush beans, pole beans
Another distinction you’ll come across when choosing a bean variety is whether they are bush beans or pole beans. This distinction refers to the plant’s growing habit and can impact the plant’s support needs and harvest timeline, so it’s a good idea to check your seed packets before choosing a variety.
Bush beans produce a more compact plant that does not require a trellis or other support structure. These plants mature more quickly and typically can be harvested in 50-55 days from planting. However, since they will only produce one harvest, you will need to use succession planting if you’d like to harvest beans all season long.
Pole beans, by contrast, can grow 6 to 8 feet tall and require a support structure for a productive harvest. Pole beans are a great option for small gardens as they can provide high yields that are consistently productive, so there is no need for succession planting. Simply plant once and harvest all season long.
Other classifications and specialities
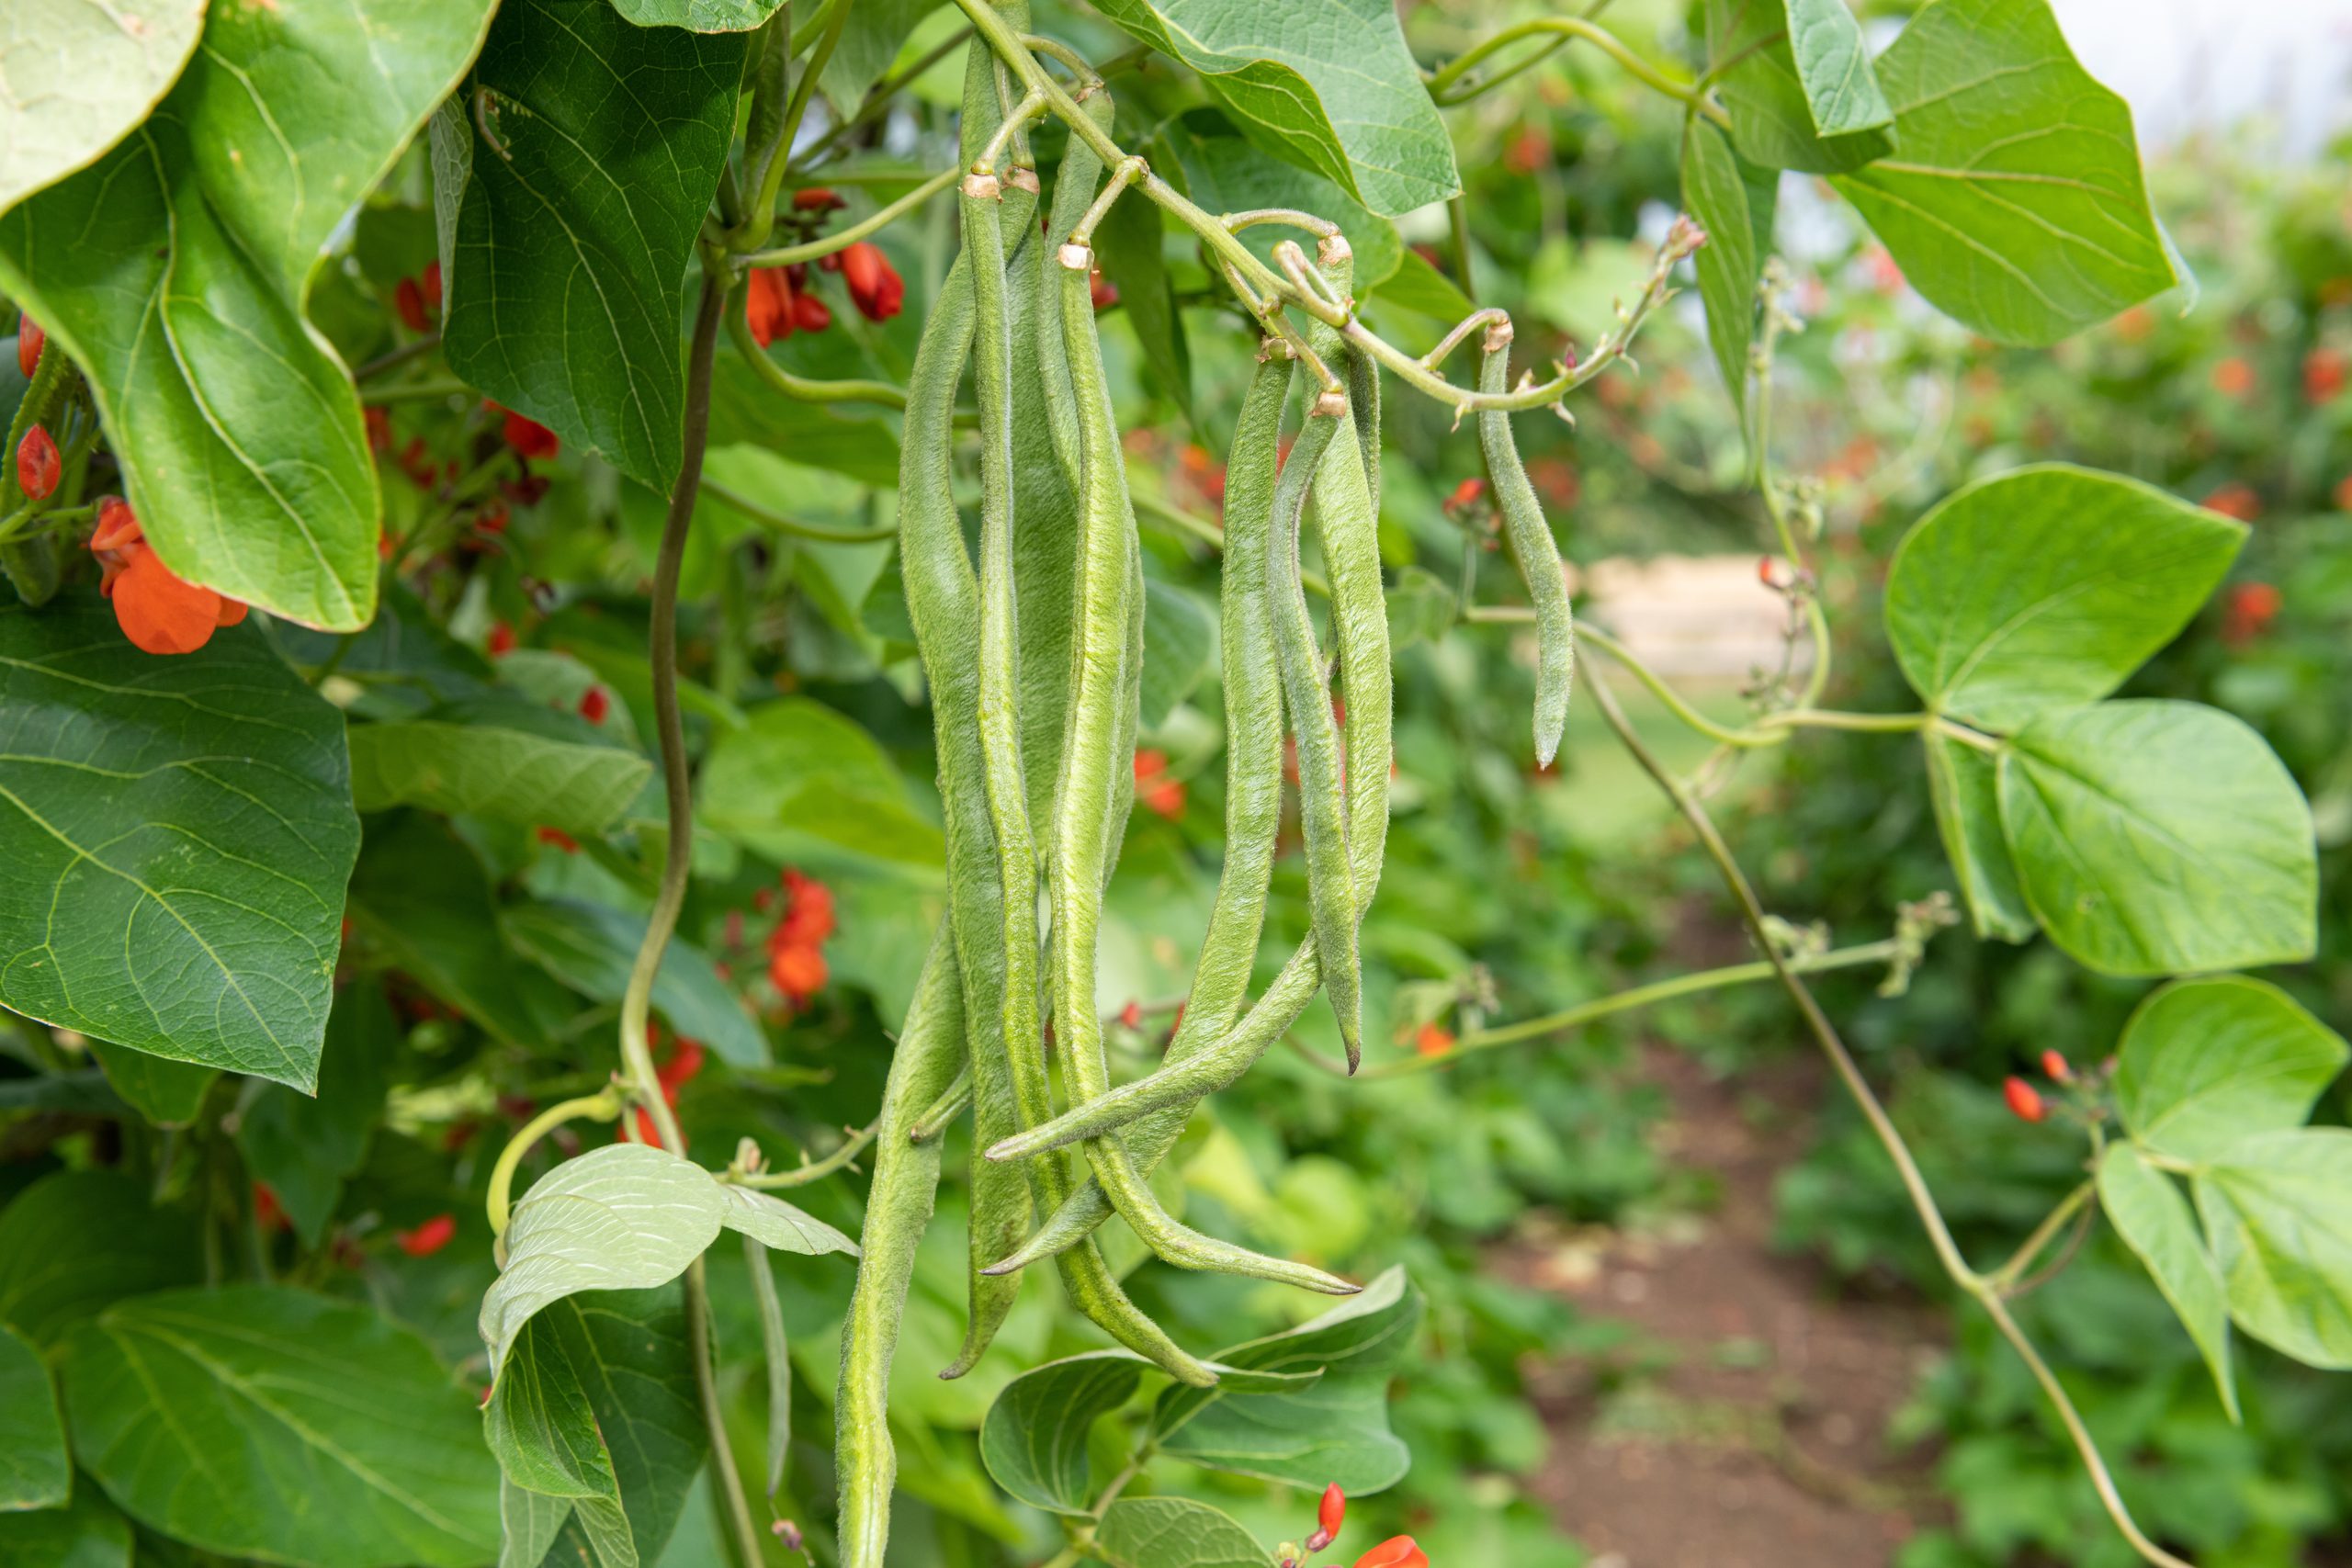
Beyond the common bean and its many varieties, there are several other beans and bean-type plants that are worth exploring. Runner beans (Phaseolus coccineus), for example, are a type of pole bean especially well suited to cooler climates. They are sometimes planted as an ornamental because they produce beautiful, edible flowers that pollinators love.
Live in a warmer climate? Tepary beans (Phaseolus acutifolius) might be the right bean to grow. They are drought-tolerant and can withstand very hot temperatures because they are native to the southwestern U.S. and Mexico.

2. Pick the best location for your beans
Most bean varieties benefit from being planted in full sun, but there are some types, such as scarlet runner, that don’t mind a little shade, so be sure to pick a mostly sunny spot. Beans do well planted in the ground, in raised beds and even in containers, so long as the soil is sufficiently drained, loose in texture and slightly acidic.
3. Select companion plants that support growth
Beans can be a great team player with other garden plants. They thrive alongside companion plants like cucumbers, tomatoes, carrots and marigolds.
Two of the most well-known pairings for beans come from the Three Sisters planting — a traditional Indigenous practice that combines beans with corn and squash. In this system, the three plants are planted together with corn at the center, which provides a natural trellis for the beans to climb up as they grow.
While beans are great companions for many plants, there are a few they don’t get along with. Keep your bean plants away from most alliums, especially onions and garlic, as well as fennel, all of which can impede growth.
4. Plant your bean seeds properly
While beans can be incredibly easy to grow, there are a few planting tips that can help guarantee a successful harvest. Beans do best when directly sown in warm soil (above 60 F) and once air temperatures are also consistently mild to warm with no chance of frost. To speed up germination, you may soak your bean seeds in warm water overnight (no longer than 24 hours), then drain and plant. The spacing requirements vary depending on which gardening method you are using, as well as if you are planting pole or bush beans. But generally speaking, seeds should be planted 1 inch to 1.5 inches deep in the soil. After planting your bean seeds, give them a good watering. Throughout the season, be sure to keep the soil moist but not soaked. You may want to add some compost to the soil but avoid over fertilizing since beans will fix their own nitrogen in the soil and too much nitrogen can inhibit flower growth.
5. Harvest your beans and save the seeds
If you’re growing beans to eat fresh, such as snap beans, be sure to pick the beans every 1 to 2 days to encourage a high yield. The pods should be plump and juicy and the beans inside the pod should be very small and not yet bulging.
Shell beans stay on the vine a little longer, 80 to 90 days or until the pods begin to change color but are still pliable and plump. The beans inside should be large, not yet dry and should be used within 1 to 2 days of shelling (removing the beans from the pod).
Finally, dry beans are typically ready for harvest 90 to 100 days after they are planted. Some signs they are ready: The outer pods should look dry and brittle and the beans inside should feel hard. Be sure to save your dried beans in an airtight container in a cool, dry spot in your home. With proper storage, the beans can be stored for months or even years — if you can go that long without cooking them all!
And a bonus: If you planted either an heirloom bean or an open-pollinated variety, you can save the dried beans and replant them the following year. Never buy bean seeds again!
Related Posts
 Growing Your Own Food
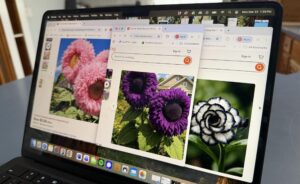
When seeds online look too good to be true — because they are
March 23, 2026
Not all seeds sold online are what they seem. We explore the rise of misleading seed listings and share tips for finding reliable, high-quality seeds for your garden.
 Growing Your Own Food
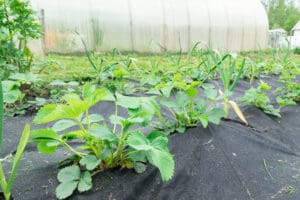
Uprooting plastic: Why and how to reduce plastic in the garden
June 4, 2025
As the owner of Urban Gardening Canada, Bri Petersen shares sustainable gardening advice through workshops and social media. She tries her best to avoid any plastic use in the garden. “I’ll make a cold frame over a poly hoop house, if I can,” she says. Typically cold frames are wooden boxes with a glass top, while poly hoop houses use plastic sheeting stretched over hoops. Both protect plants from the cold; the main difference is in materials — glass versus plastic. For Petersen, opting to eliminate as much plastic as possible from the garden is not a revolutionary concept. “It’s how people used to garden a hundred years ago,” she says. But while Petersen’s effort to avoid plastic is applaudable, it’s not always easy. In 2023, the global home plastic flower pots and planters market was valued at $0.34 billion. It is expected to grow to $0.57 billion by 2032.
 Growing Your Own Food, Sustainable Agriculture
Edible landscaping is beautiful and delicious
April 18, 2025
Rising food prices and a desire for an eco-friendlier yard are leading many people to gardening — a fun, enriching practice with many documented mental and physical health benefits. Home gardening became popular during the pandemic — and stayed popular even after lockdown, with polls showing 8 in 10 U.S. households participating in gardening activities.