7 tips for water bath canning
Quick pickling and refrigerator jamming are simple food preservation techniques that are often go-to methods thanks to short prep time and easy recipes. But these methods only extend the life of items for a few weeks and require refrigeration. While water bath canning homemade jams and sauces requires a little more work, we suggest you learn the method, as it’s an incredibly rewarding process that can help you enjoy the bounty of spring and summer all winter long, without taking up refrigerator shelf space.
Why preserve your food? As Master Home Preserver Shakirah Simley recently wrote on her Instagram, “Preservation is a selfless act. When you ‘put up’ food, your intention is always to feed yourself and others. I also love the act of taking a fleeting harvest and turning it into permanent abundance. It’s a heady mix of history, chemistry, tradition and culture in every batch. As a Black canner, especially, I’m honored to carry this thread of my ancestors.”
Whether you’re using up an abundance of home-grown vegetables or want to preserve your favorite seasonal foods from the farmers’ market, water bath canning provides one of the best ways to preserve your food. Here are some of the basics of water bath canning to get you started.
What is water bath canning?
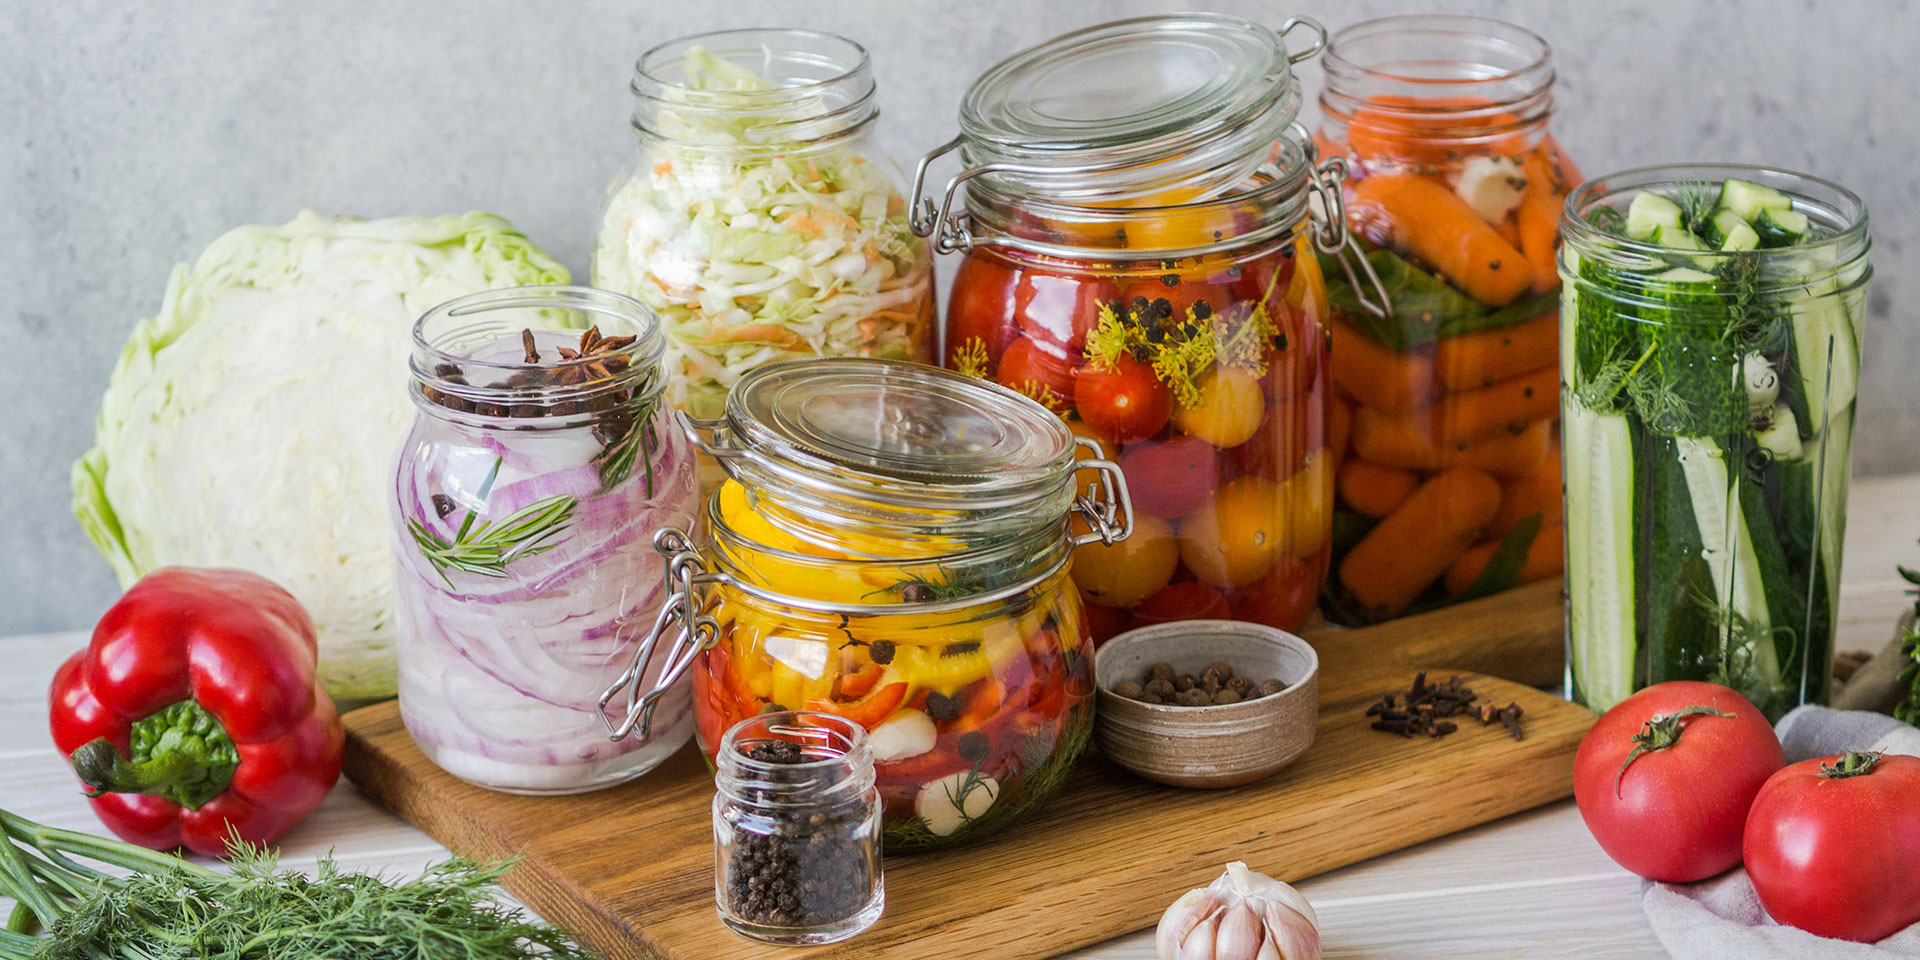
Water bath canning is a method of food preservation for acidic foods that uses pressure, created by boiling water, to create an environment within glass jars which prevents harmful bacteria from growing on the food. It can be used for sweet and savory foods, from whole tomatoes or peaches to chutneys, salsas, sauces, vinegars and more. When done properly, these canned foods are shelf stable and do not rely on a fridge or freezer to maintain their freshness.
Steps for water bath canning
While you should follow approved recipes and step-by-step guides on how to safely complete the process, the main components of water bath canning include:
- Preparing a high acidity food such as tomatoes, certain jams and jellies, pickles, and more.
- Packing the acidic food into sterilized glass jars and sealing with the proper lid.
- Placing the jars in a water bath canner; typically a large stockpot designed to hold a large quantity of water.
- Processing the jars in boiling water for the required time as stated in the recipe.
7 tips for water bath canning
Start with the best produce
One of the benefits of home canning is that you are able to preserve seasonal produce. When choosing fruit or vegetables to use, pick items that are ripe, but not overripe or bruised, to ensure the best quality finished product. “You want to be working with product that’s gorgeous, that you would want to eat yourself,” Lauren Sandler, director of preservation for Woodberry Pantry, told Eater.
Find reputable sources for recipes and guidance
Water bath canning is as much about science as it is about cooking. The conditions must be just right to guarantee the safety of the finished product so it’s important that you follow the latest guidelines for safe canning practices and use recipes that have been thoroughly tested.
The Department of Agriculture, which publishes up-to-date guidelines for home canning through the National Center for Home Preservation (NCFHP) is a great place to start. State extension offices also offer in-depth canning resources, classes and answers to the most commonly asked questions. We also have several suggestions for great canning and preserving books below.
Follow the recipe closely
Recipes developed for water bath canning are created and tested to ensure they maintain a certain pH level — the measure for how acidic a food is. Deviating from the recipe can cause the pH level to become too high or too low which could make your finished product unsafe and lead to spoilage.
We know it can be tempting to add an extra clove of garlic to tomato sauce but for safety purposes, hold off for now. Certain foods like garlic and other alliums can lower the pH of your food, making it unsafe to process. If you like a lot of garlic (who doesn’t), you can always add it to your sauce when you are ready to eat it. And once you’ve mastered the water bath canning process, you may want to go rogue and start canning whatever jams or pickles you’ve made off the cuff. Stick to recipes or use paper pH test strips to guarantee the proper acidity.
Gather the essential tools, but use what you already have
While there are definitely tools that make the water bath canning process easier, most of the equipment you need may already be in your kitchen. As Sherri Brooks Vinton states in her book, “Put ‘Em Up, A Comprehensive Home Canning Guide,” “Home food preservation is an exercise in economy, not consumerism, so you shouldn’t have to invest a lot of money in new, single-use gadgets to get the job done.”
Here are a few items that will help throughout the process:
- Large stockpot for processing the jars.
- Enamel or non-reactive stockpot for preparing the food. If making jam, try using a copper pot as recommended by Alessandra Gordon, owner of Seattle based jam company Ayako and Family. “The copper in particular, is a really great conductor of heat,” she says.
- Jar lifter to remove the jars from the water (or make your own with tongs and rubber bands).
- Home canning jars, lids and bands in preferred sizes. You can reuse jars and bands so long as there are no defects (cracks, dents, etc.), but lids can only be used one-time to ensure they seal properly. Previously used lids can be used for dry storage or non-canning purposes.
- Silicone or metal rack that fits within your canning stockpot.
- Wide mouth funnel and a ladle to transfer prepared food into the jars.
- Food scale for precisely measuring the weight of fruit or vegetables.
Prepare your working area
Canning isn’t actually a difficult process, however, it does include a few components. As Vinton says in her book, “it helps to think of putting up food as having two separate components — food preparation and food preservation.” The preparation portion refers to the work that has to happen before you even start canning such as chopping fruit or vegetables, cooking jams and sauces or preparing brines for pickles.
To help keep organized, it’s best to start in a clean kitchen with all of your ingredients and equipment out and ready. Read through the recipe a few times so you understand what needs to be done before you start the canning process and so you can gather any special tools that are required (such as a food mill for tomato sauce).
Label and store your finished product properly
Once your jars are processed and you’ve ensured the lids have sealed correctly, remove the band and place a label on each jar stating the contents and the date it was processed. The labeled jars should be stored in a cool, dry location, ideally away from direct sunlight. Jars should not be stacked on top of one another, as this can disturb the seal of the lid. When stored properly, the food should retain its quality for up to one year, however follow the recipe’s guidance.
Connect with other canners
Even after reading tutorials and closely following canning recipes, you may still have questions or want to connect with others dedicated to food preservation. If you don’t know anyone involved in food preservation, there is a growing canning community online where fellow home canners share knowledge, answer questions and highlight recipes. Facebook groups such as Food in Jars and Punk Domestics cover a wide range of food preservation techniques and sometimes also offer virtual classes. Canning Across America is a website that aims to connect cooks, gardeners and food lovers who are committed to home food preservation and provides a space to share safe food preservation tips and community building through food.
5 water bath canning books
Looking for more information about water bath canning? Here are some of our favorite books on preservation, with great tips and recipes for water bath canning:
“Food in Jars: Preserving in Small Batches Year Round” by Marisa McClellan
Marisa McClellan’s first cookbook “Food in Jars: Preserving in Small Batches Year Round” embodies her food preservation philosophy and mission to show how home canning can be approachable and accessible for all. Her small batch recipes work well for beginners and those who may be tight on space.
“The All New Ball Book Of Canning And Preserving” by Ball Home Canning Test Kitchen
From one of the most trusted brands in home canning, this modern canning and preservation book from the Ball Home Canning Test Kitchen contains over 350 new recipes for water bath canning, pressure canning, freezing/drying and fermentation. The “All New Ball Book of Canning and Preserving” also contains several recipes that highlight how to use your canned products so nothing goes to waste. Plus, you can rest assured knowing that all recipes have been thoroughly tested for safety by Ball’s Fresh Preserving Quality Assurance Lab.
A companion to Sherri Vinton’s other home preservation books, “Put ‘Em Up! A Comprehensive Home Preserving Guide for the Creative Cook” and “Put ‘Em Up! Fruit,” this book contains 399 solutions to some of the most popular home preservation questions. From how to properly set up your kitchen to learning how to keep your knives sharp, get expert answers so you can feel more confident in your canning.
“What Mrs. Fisher Knows About Old Southern Cooking: Soups, Pickles, Preserves, Etc.” by Abby Fisher
This book is believed to be one of the first cookbooks written by an African-American woman, former slave Abby Fisher. Published in 1881, “What Mrs. Fisher Knows About Southern Cooking” contains a chapter titled “Preserving and Canning Food: Jams, Jellies and Pickles” but also highlights old-style Southern recipes and serves as a historical reference for cooking during that time period. Shakirah Simley is among the many fans of this historical reference book.
Written by Certified Master Food Preserver Georgia Varozza, “The Homestead Canning Cookbook” contains over 150 recipes organized by ingredient which makes it easy to find a recipe for whatever is in season. The book also includes practical and accessible ways to incorporate the canning process into your busy life.
Get the latest food news, from FoodPrint.
By subscribing to communications from FoodPrint, you are agreeing to receive emails from us. We promise not to email you too often or sell your information.
Top photo by Amelia/Adobe Stock.
More Reading
Beyond fermentation: A new book explores the many methods of food preservation
July 17, 2026
Should you follow expiration dates and sell-by dates?
July 7, 2026
25+ ideas for summer beans
June 30, 2026
Veganism, where art thou? Two new cookbooks have some answers
June 18, 2026
Celebrating beans in Sean Sherman and Crystal Wahpepah's new cookbooks
June 11, 2026
Not your grandma’s Tupperware: A new era of meal prep
May 13, 2026
Bean picnics: Building community one bean at at time
May 6, 2026
Make small changes that add up with our Reduce Your Foodprint Challenge
May 5, 2026
How I used cookbooks to spring clean my pantry
March 2, 2026
How to host a sustainable dinner party
December 16, 2025